How to Secure Portable Solar Panels on an Apartment Balcony Railing
Quick Specification & Sizing Overview
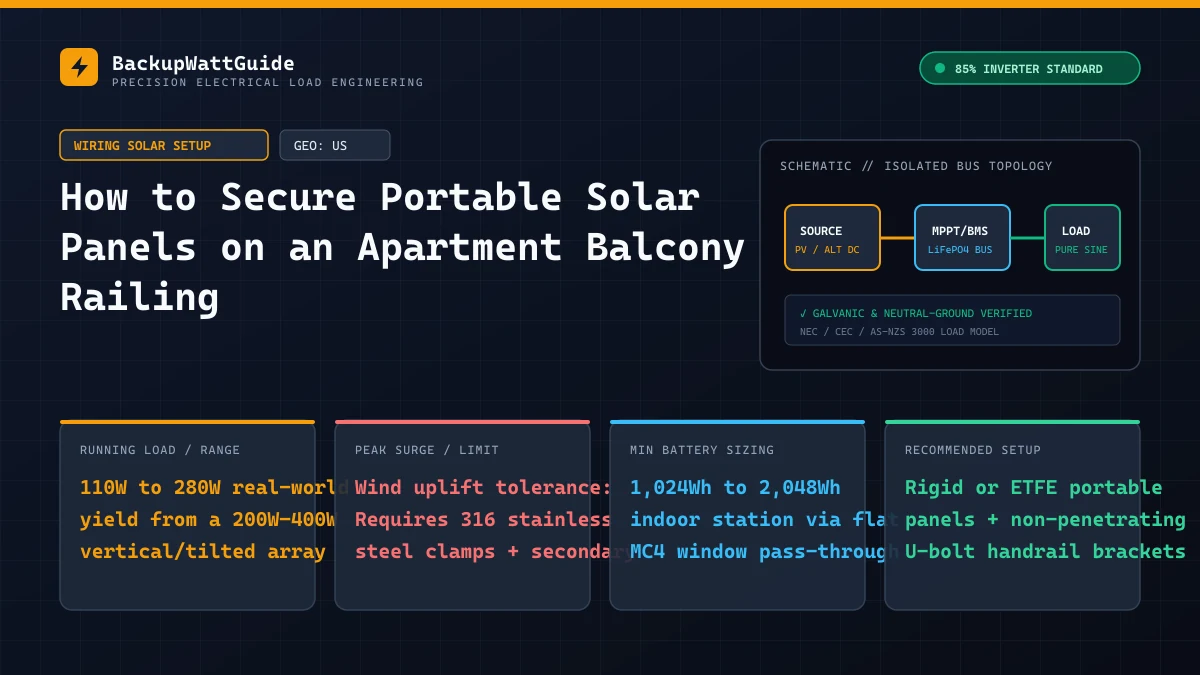
Renters and condo owners cannot bolt racking into a roof or wire a subpanel without losing their security deposit or getting fined by a Homeowners Association (HOA). However, a south-, east-, or west-facing apartment balcony railing receives 3.5 to 5.5 peak sun hours a day—enough solar energy to put 500Wh to 1,200Wh of free electricity into an indoor portable power station every afternoon. That daily harvest easily runs a home office workstation, charges a 1000Wh power station for a ResMed AirSense 11 CPAP, or keeps your fridge alive during a grid blackout.
The problem is that most apartment dwellers hang a 200W folding solar panel over a 6th-floor balcony handrail using plastic zip-ties or cheap aluminum carabiners, leave the panel hanging vertically at a 90-degree angle, and run round MC4 wires through a cracked sliding door. Within three weeks, UV light snaps the plastic zip-ties in a 40 mph wind gust, or a tiny shadow from the upstairs neighbor’s balcony slab cuts a 200W panel down to 22W.
Here is the complete non-drilling structural setup, wind-tethering checklist, flat window cable routing, and tilt-angle math to mount portable solar panels safely on an apartment balcony.
Folding fabric panels vs. semi-flexible vs. rigid panels for balconies
Before clamping anything to your handrail, match your panel type to whether you are setting up a temporary fair-weather / blackout charger or a 365-day semi-permanent balcony array:
| Solar Panel Type | Weight (per 200W) | Wind Sail Risk | Weather & UV Lifespan | Best Apartment Balcony Use Case |
|---|---|---|---|---|
| 1. Folding Portable Suitcase (ETFE + Fabric Hinges) (EcoFlow, Bluetti, Anker, Jackery) | 6.5 – 9.0 kg (14 – 20 lbs) | High. Flexible hinges flap and catch wind gusts like a sail if only clipped by top grommets. | Temporary only. Rated IP67/IP68 for rain splashes, but daily UV and trapped moisture ruin fabric stitching in 4–8 months. | Clipping onto the railing on sunny days or during power outages; folds under the sofa in 60 seconds if the HOA complains. |
| 2. Semi-Flexible Marine ETFE Panels (2x 100W Lightweight Panels) | 3.6 – 4.2 kg (8 – 9 lbs total) | Low when backed by twin-wall polycarbonate sheet and strapped top-and-bottom. | 3 to 5 Years continuous outdoor marine exposure; zero fabric to rot. | Renters with strict weight limits or curved/glass railings who need an ultra-light, zero-glare black facade. |
| 3. Rigid Aluminum-Frame Glass Panels (2x 100W or 1x 200W Bifacial) | 11.0 – 14.5 kg (24 – 32 lbs) | Zero flexing. Rigid anodized frame bolts directly to stainless steel balcony hooks. | 20 to 25 Years outdoor weatherproof rating (IEC 61215 certified for 2400 Pa wind load). | Long-term daily cycling on metal picket or square-tube railings using non-penetrating stainless steel balcony brackets. |
Non-drilling balcony railing mount hardware (zero damage to property)
Never rely on nylon cable ties (zip-ties), bungee cords, or cast-zinc keychain carabiners to suspend a solar panel above a sidewalk or courtyard. Even black “UV-stabilized” nylon zip-ties embrittle after 90 days of summer sun and snap under cyclic wind vibration.
To mount panels with zero holes drilled into the building and 100% landlord/strata compliance, use a two-layer retention system (Primary Structural Clamp + Secondary Aircraft Cable Tether):
1. Primary Structural Mount: 304/316 Stainless Steel Balcony Hooks & U-Bolts
- For Metal Picket or Square/Round Handrails: Use 304 Stainless Steel Adjustable Balcony Solar Hooks accompanied by rubber EPDM isolator pads. The rubber pads wrap around the painted balcony railing so the stainless steel J-hook and lower U-bolt clamp down tightly without scratching a single millimeter of the landlord’s powder-coated paint.
- Securing the Bottom Edge (Stops Wind Uplift): This is the step beginners skip. If you only hang a folding or rigid panel from its top two grommets, a 30 mph updraft blowing up the side of the apartment building will flip the bottom of the panel upward like a hinged trapdoor and smash it against the railing. Always secure the bottom grommets or lower frame rail to the lower balcony spindles using either adjustable stainless steel tilt legs or 500-lb rated stainless steel hose clamps / EPDM-lined pipe clamps.
2. Secondary Fail-Safe: 1/8-Inch (3mm) Vinyl-Coated Stainless Steel Aircraft Cable
Even in commercial balcony solar installations (such as Germany’s regulated Balkonkraftwerk standards), a secondary tether is mandatory above the ground floor. Loop a short length of 3mm (1/8-inch) 7x19 braided stainless steel wire rope through the panel’s upper frame hole or reinforced corner grommet, wrap it around the main structural railing post, and lock it with a threaded 316 stainless steel quick-link (maillon) tightened with a wrench. If a primary clamp ever loosens, the panel cannot fall.
Why a vertical 90-degree balcony mount loses 35% of your watts (and how to fix it)
When you hang a solar panel flat against a vertical balcony railing (a 90-degree tilt angle relative to the flat ground), the sun’s rays hit the silicon cells at a steep glancing angle during summer midday when the sun sits high overhead at 65 to 75 degrees.
Compare the real-world daily Watt-hour yield of a 200W solar array facing true South in the Northern Hemisphere (or true North in Australia) across three balcony mounting angles:
| Balcony Mounting Angle | Summer Daily Yield (200W Array) | Spring / Autumn Daily Yield | Winter Daily Yield (Low Sun Angle) | Visual & HOA Profile |
|---|---|---|---|---|
| 90° Vertical (Flat Against Railing) | 380 – 450 Wh/day (Peaks at ~95W–115W) | 480 – 560 Wh/day (Peaks at ~130W) | 520 – 620 Wh/day (Peaks at ~155W!) | Stealthiest. Looks like a privacy screen; zero overhang past balcony line. |
| 60° to 65° Tilt (25cm Bottom Kick-Out) | 580 – 680 Wh/day (Peaks at ~150W) | 640 – 750 Wh/day (Peaks at ~165W) | 550 – 640 Wh/day (Peaks at ~160W) | Best All-Rounder. Kicking the bottom edge out by just 10 inches boosts summer output by +50%. |
| 35° to 45° Tilt (Full Telescoping Brackets) | 750 – 880 Wh/day (Peaks at ~175W) | 680 – 790 Wh/day (Peaks at ~170W) | 460 – 530 Wh/day (Peaks at ~135W) | Maximum Summer Yield, but sticks out 18–24 inches (check HOA rules first). |
Look at that middle row: you do not need huge 2-foot arms sticking out over your balcony to fix vertical losses. Simply using a short 25cm (10-inch) bottom stand-off bracket to tilt the panel from 90 degrees out to 65 degrees boosts your summer daily harvest from 410Wh up to 630Wh per day (+53% more electricity) while staying almost flush with the building facade.
Also notice the winter column: in December and January across the northern US and Canada, the winter sun stays low on the southern horizon (20° to 30° elevation). A nearly vertical 70° to 90° balcony panel actually catches winter sun at a near-perfect perpendicular angle and never collects a layer of snow! (Just remember to keep your power station indoors on the warm side of the glass so you never trigger the 0°C LiFePO4 low-temperature charging cutoff).
For exact solar irradiance and optimal tilt angle tables for your specific city and latitude, plug your address into the NREL PVWatts Calculator.
How to run solar cables through a sliding door or window without drilling
You should always keep your LiFePO4 portable power station indoors inside your climate-controlled living room rather than leaving an $800 battery baking on a 40°C balcony or getting soaked by wind-driven rain.
To bring the positive and negative solar cables inside without drilling through concrete walls or leaving your balcony door cracked open (which leaks AC/heat and lets insects inside), use a Flat MC4 Window Pass-Through Ribbon Cable:
- How a Flat MC4 Ribbon Works: Instead of a stiff round 10 AWG rubber jacket, a window pass-through adapter uses a 1.5mm-thin, 12mm-wide flat flexible copper busbar sealed in weatherproof TPE plastic, with standard watertight MC4 plugs on both ends.
- Where to Route It:
- On Hinged Casement / Tilt-and-Turn Doors: Lay the flat ribbon across the bottom threshold or the hinge-side rubber gasket and secure both sides with removable outdoor 3M VHB mounting tape. The rubber weatherstripping compresses right around the 1.5mm ribbon when you lock the handle.
- On Heavy Sliding Glass Patio Doors: Do not lay the ribbon across the bottom metal roller track where the heavy steel wheels of the sliding door will roll directly over the copper! Instead, route the flat ribbon vertically through the felted vertical latch gap (or the center overlap seam where the moving glass panel meets the fixed glass panel) about 12 inches up from the floor, where only the soft brush seal touches it.
- Connect to Your Power Station Indoors: Inside your living room, click the indoor MC4 ends of the flat window cables into your MC4-to-XT60i adapter cord. (If your EcoFlow station caps your balcony solar input at 8 Amps / 100W, make sure your indoor adapter uses a 3-pin XT60i connector—see our wiring guide on how to wire an Anderson plug to XT60 for charging Bluetti and EcoFlow).
Solving the #1 balcony solar killer: Partial shading and parallel wiring
Apartment balconies are surrounded by shade hazards: the concrete slab of the balcony directly above you, side privacy dividers, vertical railing spindles, and neighboring buildings.
If you buy a single large 200W or 400W folding solar panel and hang it on your balcony, a shadow just 3 inches wide from the upstairs balcony overhang falling across the top edge of the panel at 1:00 PM can cause your charging wattage to plummet from 160W straight down to 18W.
Here is why that happens and how to wire around it:
- Why 1-Piece Portable Panels Hate Balcony Shade: Most portable folding panels wire all four of their folding leaves in a single high-voltage series chain without individual bypass diodes on every sub-panel. When the top 10% of the panel falls into the shadow of the upstairs balcony slab as the sun climbs high at noon, those shaded cells stop generating current and block the other 90% of the panel sitting in bright sunshine.
- The Parallel 2x 100W Balcony Solution: Instead of hanging one giant 200W panel, mount two separate 100W rigid or semi-flexible panels side by side and join their positive and negative leads using a pair of MC4 2-to-1 Parallel Branch Y-Connectors before attaching the flat window cable.
In a parallel setup, voltage stays identical to a single 100W panel (typically 18V to 20V working voltage, ), while the amperage of the two panels adds together. If the afternoon shadow of a side privacy wall creeps across Panel A at 3:30 PM, Panel A drops to 5W, while Panel B stays in full sun and keeps pumping 85W into your power station uninterrupted.
| Balcony Array Wiring | Combined Voltage ( / ) | Combined Amperage () | What Happens When 1 Panel is 30% Shaded by the Railing? |
|---|---|---|---|
| Series Wiring (2x 100W Panels, Positive to Negative) | 39.0V (46.8V ) | 5.1 Amps | Both panels collapse. Shaded panel acts as a bottleneck; total input drops from 170W down to ~20W–30W. |
| Parallel Wiring (2x 100W Panels via MC4 Y-Branch) | 19.5V (23.4V ) | 10.2 Amps | Unshaded panel runs at 100%. Shaded panel drops, but unshaded panel still delivers 85W–90W continuously. |
Positioning panels relative to vertical balcony pickets
Never mount a solar panel behind (on the inside of) vertical metal balcony spindles expecting sunlight to shine through the gaps. Even a single 15mm-wide vertical iron picket casting a black stripe across the face of a monocrystalline solar panel triggers the internal bypass diodes and cuts output by 50% to 70%. Always hang the panel on the exterior face of the railing spindles (using your secondary stainless steel safety tether anchored around the main top rail), or mount the panel flush with the top handrail where zero vertical bars cross the glass.
Calculating daily balcony solar recharge vs. apartment appliance loads
To see how many hours of apartment backup or daily bill-offset your balcony panels actually provide, plug your expected solar wattage into the calculator below:
- In
Battery Capacity (Wh), enter your indoor station size (for example,1024for a 1kWh station or2048for a 2kWh station). - In
Appliance Running Watts (W), enter your home office or kitchen load (for example,110for a laptop, external monitor, and Wi-Fi router, or65for an energy-efficient apartment refrigerator). - If your balcony panel puts an average of 130W into the battery for 4.5 hours each afternoon (~585Wh gained per day), running a 110W home office setup off the battery for 4.5 hours consumes every watt-hour you harvest without ever touching utility grid power.
Real-World Battery Runtime Calculator (85% Inverter Efficiency)
4 HOA, strata, and fire-code rules to check before hanging panels
Before ordering brackets, check these four apartment rules so you never get hit with a lease violation notice:
- Keep the Panel Inside the Vertical Plane of the Balcony Slab (Zero Overhang): Most city building codes and condo HOA bylaws classify anything projecting outward past the concrete drip-edge of the balcony floor as an exterior facade modification or falling-object hazard. Hanging a panel vertically at 90 degrees (or kicking the bottom out by just 6 to 8 inches so it stays above an inset sill) keeps the hardware within your leased airspace.
- Choose All-Black Monocrystalline Panels Over Blue Polycrystalline Grid Panels: Older solar panels with bright silver aluminum frames, white backing sheets, and blue checkerboard cells catch the eye of property managers from three blocks away. Modern all-black ETFE or black-frame monocrystalline shingled panels blend straight into dark tinted balcony glass or black wrought-iron railings.
- Never Block a Designated Fire Escape Window or Balcony Ladder Hatch: In multi-family buildings with external fire escapes or inter-balcony emergency partition doors, leave the egress path 100% unobstructed and route your indoor flat MC4 window ribbon along the upper hinge corner of the door frame so no one can trip over the cable inside the living room.
- Disconnect During Severe Thunderstorm or Hurricane Warnings: Even with 316 stainless steel U-bolts and aircraft cable tethers, high-rise buildings create severe Venturi wind tunnels between towers during 60+ mph storms. If you use a portable folding or semi-flexible panel on quick-release stainless steel maillons, unclip the panel and bring it inside in two minutes whenever a severe wind warning is issued. While the battery sits indoors waiting out the storm, make sure you have already disabled the station’s AC auto-timeout and cleared any 99% BMS calibration drift or E01, E02, and E03 error latches so your backup power is ready the second the grid drops.
# Frequently Asked Questions
Can I hang a folding fabric portable solar panel outside my apartment balcony permanently in the rain?
No. Standard folding suitcase solar panels (even those rated IP67 or IP68) use stitched Oxford fabric hinges, zipper pockets, and ETFE/PET lamination that delaminates and traps moisture behind the solar cells after 3 to 6 months of continuous UV and rain exposure. Use folding fabric panels for temporary fair-weather hanging or emergency blackouts; for a year-round balcony setup, use rigid aluminum-frame 100W/200W panels or marine-grade semi-flexible fiberglass panels.
How do I get the solar cable from the balcony into my living room without drilling a hole in the wall or leaving the sliding door open?
Use a flat ribbon MC4 window/door pass-through cable (1.5mm thick flexible copper ribbon). It tapes neatly across the bottom sill of a casement window or sliding patio door frame, allowing the weatherstripping seal and lock latch to close completely without pinching round 10 AWG wires.
Why does my 200W balcony solar panel drop from 140W down to 15W when a thin bar shadow from the railing hits one corner?
Solar cells inside a portable panel are wired in series strings. When even a 2-inch horizontal shadow from a balcony spindle or overhead overhang falls across a single row of cells, the shaded cells turn into resistors and choke current across the entire series string. Always mount panels on the outside face of the railing spindles (where allowed) or wire two smaller 100W panels in parallel using MC4 Y-branch connectors so one shaded panel does not pull down the unshaded panel.
Lead Technical Electrical Editor
Peer-ReviewedPower Systems Analyst & Backup Power Specialist
All technical guides and electrical sizing benchmarks are calculated using standard Nameplate Full Load Amps (FLA), Locked Rotor Amps (LRA) surge models, and an empirically verified 85% Inverter Power Factor & Conversion Efficiency model.