Heavy-Duty Storage Tub Hack: Weatherproof Box for Power Stations
Quick Specification & Sizing Overview
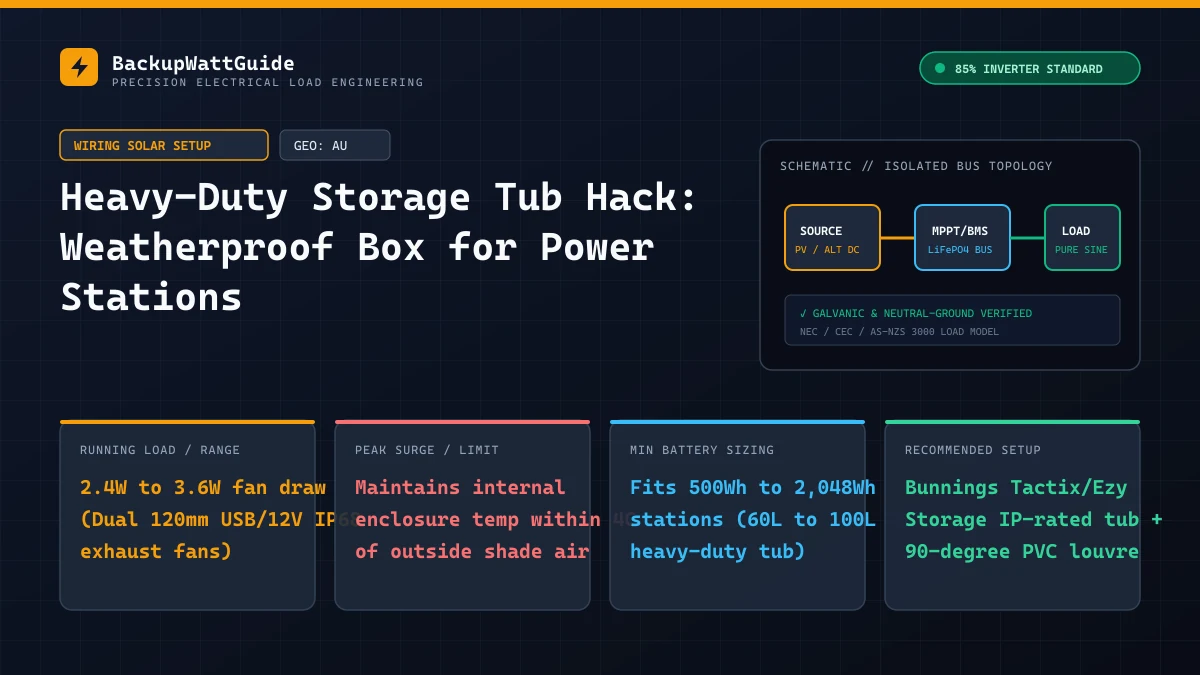
Almost every portable power station on the market—whether it is an EcoFlow DELTA 2, Bluetti AC180, Anker SOLIX C1000, or Jackery Explorer—carries an IP20 ingress rating. That means a single sideways summer thunderstorm blowing under your camp awning, morning coastal sea spray, or fine Australian red bull-dust sucked through the open cooling vents can bridge the 240V/120V MOSFET legs on the inverter board and brick an $1,100 battery on the spot.
If you do not have space inside your 4WD cabin or want to leave your power station sitting outside under the camper trailer running your 40L Engel fridge while a solar blanket charges it, you can build a rain-proof, dust-filtered, actively cooled Weatherproof Power Station Enclosure in 45 minutes using a $29 heavy-duty storage tub from Bunnings (or Home Depot / Canadian Tire in North America).
Here is the exact parts list, airflow & thermal dissipation math, and step-by-step build blueprint so your battery stays bone-dry in a downpour without ever tripping an E02 high-temperature shutdown.
Why you cannot just close the lid on an unvented storage tub (The 65°C Oven Trap)
Before cutting into a storage crate, understand the thermal math happening inside your power station:
- When your power station takes in 250W of solar power and outputs 150W of AC power, its internal MPPT controller and inverter operate at roughly 85% to 90% efficiency—turning 35W to 50W of electricity directly into continuous heat.
- Putting a 45W heater inside a sealed 60-litre polypropylene storage box with the lid clipped shut raises the internal air temperature by +1.2°C every single minute.
- Within 25 minutes on a 28°C afternoon, the air trapped inside the tub hits 58°C to 65°C (140°F–149°F). The power station’s internal fans just recirculate that superheated air in a loop until the battery BMS slams shut with an
E02over-temperature alarm!
To keep internal tub temperatures within 3°C to 4°C of outside shade air during rain and dust storms, your weatherproof box needs cross-flow directional ventilation protected by downward-facing rain cowls and washable foam dust filters.
Complete parts list (Bunnings / Jaycar / Amazon build — Under $75)
Match your tub size to your power station’s footprint, leaving at least 75mm (3 inches) of breathing room on both the left and right fan-vent sides of the battery:
| Component | Recommended Spec / Model | Where to Buy (AU / US / CA) | Purpose in the Build |
|---|---|---|---|
| 1. Heavy-Duty Gasketed Storage Tub | 60L to 80L Heavy Duty IP-Rated Tactix / Ezy Storage Bunker Tub (or Husky 20-Gal Waterproof Tote) | Bunnings (42 AUD) / Home Depot ($32 USD) | Thick impact-resistant polypropylene walls with a foam lid seal that stops rain pooling. |
| 2. Two Downward-Facing Marine Louvre Cowls | 125mm x 125mm ABS Marine Vent Hoods (or two 90mm PVC 90-degree Stormwater Elbows) | Bunnings Plumbing/Marine aisle ($9 each) | Bolts over the intake and exhaust cutouts so vertical or 45-degree rain cannot splash inside. |
| 3. 120mm USB or 12V IP67 Brushless Cooling Fan | 120mm x 25mm 5V USB Fan (draws just 1.8W–2.5W, 55 CFM airflow) with finger guard | Jaycar / Scorptec / Amazon ($16) | Plugs straight into a spare USB-A port on the power station to pull hot exhaust air out of the tub. |
| 4. Washable Reticulated Foam Filter Pad | 30 PPI (Pores Per Inch) Open-Cell Air Conditioner Filter Foam (cut to 130x130mm) | Bunnings / Clark Rubber ($8 sheet) | Traps red dust, sand, and insects on the intake side while allowing 90% free airflow. |
| 5. Split-Rubber Weatherproof Cable Gland | PG21 / 25mm–32mm Split Multi-Cable Gland (or 50mm rubber grommet with neoprene slit) | Jaycar / Marine Dealership ($11) | Lets pre-made 240V plugs, Anderson-to-XT60 solar cables, and 12V fridge leads pass through the tub wall without cutting off the plugs! |
(Sizing tip: For 1,000Wh stations like the EcoFlow DELTA 2 or Bluetti AC180, a 60L to 75L tub gives ideal side clearance. For 2,000Wh stations like a DELTA 2 Max or AC200L, step up to a 100L heavy-duty trunk).
Step-by-step build blueprint: Aligning the cross-flow wind tunnel
Look at the side vents of your portable power station before drilling a single hole. Every station blows air in one specific direction:
- Bluetti AC180 / EB70S & Anker SOLIX C1000: Pulls cool air in on one side panel and blows hot air out the opposite side panel (Left-to-Right Crossflow).
- EcoFlow DELTA 2 / DELTA 2 Max: Uses front-to-back or side-to-side push-pull fans depending on revision—turn on a heavy load (like a 1500W power station boiling a 240V kettle) for 30 seconds and hold a piece of tissue paper against each vent to verify which side sucks in (Intake) and which side blows out (Exhaust).
                  DOWNWARD RAIN HOOD                                  DOWNWARD RAIN HOOD
                (Passive Cool Intake)                               (Active 120mm USB Fan)
                          |                                                    ^
                          v                                                    |
             +--------------------------------------------------------------------+
             |   +-----+                                                 +-----+  |
             |   |     |    [FOAM]      +-----------------+    [120mm]   |     |  |
             |---|     |--| FILTER |==> |  POWER STATION  |==> |  FAN  |-|     |--|
             |   |     |    (Cool)      | (Internal Air)  |    (Hot)     |     |  |
             |   +-----+                +-----------------+              +-----+  |
             |                                                                    |
             |                   [20mm EVA Foam Blocks Under Feet]                |
             +--------------------------------------------------------------------+
Step 1: Cut the 115mm Intake and Exhaust Ports on Opposite Ends
- Set your power station inside the empty tub on top of two 20mm-thick strips of high-density EVA gym mat foam. Elevating the power station 20mm off the floor of the tub serves two purposes: it absorbs corrugation shock in the back of a Ute, and if 5mm of condensation or a spilled water bottle ever gets inside the bottom of the tub, the battery sits high and dry above the puddle.
- On the Intake end of the tub, mark a 115mm (4.5-inch) circle aligned directly with the power station’s intake grille. Cut the circle cleanly using a hole saw or jigsaw (go slowly so the polypropylene does not crack).
- On the opposite Exhaust end of the tub, cut a second 115mm circle positioned as high up toward the lid rim as possible (since hot air rises to the top of the tub).
Step 2: Mount the 120mm USB Exhaust Fan, Filter Foam, and Rain Hoods
- Bolt the 120mm 5V USB cooling fan onto the inside of the Exhaust hole so the airflow arrow stamped on the fan frame points OUTWARD (pushing hot tub air out into the atmosphere).
- Sandwich a square of 30 PPI open-cell filter foam and fibreglass flyscreen mesh over the Intake hole on the other end of the tub.
- On the outside of both holes, bolt your downward-facing marine louvre cowls (or 90-degree PVC stormwater elbows pointing straight down toward the ground) and run a bead of neutral-cure Sikaflex or silicone sealant around the top and side flanges of the cowls. Even in a horizontal tropical downpour, water cannot climb upward through the downward-facing elbow!
Step 3: Install the Split-Grommet Cable Pass-Through & Drip Loop
Do not drill a hole in the flat top lid of the tub (water pools on flat lids and leaks through). Instead:
- Drill a 35mm to 50mm cable port on the front wall of the tub tucked right underneath the overhanging lip of the lid.
- Fit a split rubber cable gland (or cut an X slit into a heavy rubber marine bulkhead boot) so you can push bulky 240V/120V plugs and Anderson plugs through without disassembling the wires.
- Always form a “Drip Loop” outside the box: Let every cable exiting the tub droop downward by 10cm (4 inches) below the level of the cable hole before rising up to your fridge or solar panel. Rainwater running down a solar cable will drip harmlessly off the bottom of the loop onto the ground instead of wicking along the cord into your power station!
How much battery power does the 5V USB exhaust fan use?
A standard 120mm 5V USB brushless fan draws just 0.35 Amps at 5V (1.75 Watts) on Medium speed or 0.50 Amps (2.5 Watts) on High speed—moving over 50 Cubic Feet per Minute (CFM) of air. Because your 60-litre tub only holds 2.1 cubic feet of air, that tiny 2W USB fan completely replaces 100% of the air inside the weatherproof box 24 times every single minute!
Use the calculator below to see how adding a 2W USB box fan alongside your 12V camping fridge impacts your total off-grid runtime (spoiler: it reduces a 60-hour runtime by less than 40 minutes while keeping your battery 15°C cooler):
Real-World Battery Runtime Calculator (85% Inverter Efficiency)
Summer Outback Heat Tip: Keep in the Shade
Even inside a ventilated white or grey tub, never leave the box sitting in direct 40°C sun where radiant heat bakes the plastic lid (see how heat kills charging efficiency in why solar panels drop wattage in 40C Outback heat). Slide the weatherproof box underneath the shade of your camper trailer or awning, and plug the 5V USB fan into the front of the power station whenever you are solar charging or running 240V appliances.
# Frequently Asked Questions
Can I run my portable power station inside a sealed waterproof storage tub with the lid locked shut and no air vents?
Never run a portable power station under AC load or solar charging inside an unventilated, sealed plastic tub. Even a modest 300W load combined with 200W of solar charging generates 45W to 65W of waste heat inside the case. In a sealed plastic tub, trapped exhaust air recirculates into the intake vents and drives internal temperatures past 65C in under 25 minutes, triggering an E02 thermal shutdown and degrading the LiFePO4 cells.
Why aren't portable power stations waterproof out of the box?
With the exception of specialized sealed models like the Bluetti AC60 or AC180T (which use potted circuit boards and isolated external heatsink fins), 95% of portable power stations carry an IP20 rating. They require open side ventilation grilles to blow cool air directly across bare 240V/120V high-voltage inverter circuit boards, meaning blowing rain or red bull-dust entering the vents will short-circuit the mainboard.
Which side of the weatherproof box should have the cooling fan: intake or exhaust?
Wire your active 120mm fan on the high exhaust vent on one end of the tub pushing hot air OUT, and place a passive filtered intake vent with a downward-facing rain hood low on the opposite end of the tub. Align the tub vents directly with your power station's left-to-right internal fan airflow direction so hot exhaust air cannot loop back into the intake.
Lead Technical Electrical Editor
Peer-ReviewedPower Systems Analyst & Backup Power Specialist
All technical guides and electrical sizing benchmarks are calculated using standard Nameplate Full Load Amps (FLA), Locked Rotor Amps (LRA) surge models, and an empirically verified 85% Inverter Power Factor & Conversion Efficiency model.